Technical Summary
Hosting a Telegram bot traditionally requires provisioning a virtual private server (VPS) running a continuous Node.js or Python daemon process. This structure incurs monthly server bills and demands ongoing system administration. By deploying a serverless handler on Cloudflare Workers, you can expose a public HTTP endpoint that receives Webhook payloads directly from Telegram's servers. This serverless approach executes on Cloudflare's global edge network, scales to handle millions of requests, features sub-10ms response latencies, and operates completely for $0 under Cloudflare's generous free tier of 100,000 requests per day. 💬 FAQs & Solutions ↓
Project Specifications & Benefits
- $0 Hosting Infrastructure: Cloudflare Workers Free Tier covers 100,000 CPU requests every day.
- Zero Maintenance: Serverless code requires no OS updates, port configurations, or daemon managers (like PM2).
- Secure Webhook Pipeline: Encrypted HTTPS endpoints protect incoming metadata payload transfers.
- Ultra-Fast Execution: Edge runtime architecture routes and processes transactions in milliseconds.
Architecture: Webhook routing on Edge Compute
Unlike polling loop bots that constantly query Telegram's servers, webhook bots wait sleepily until a user triggers a message. Telegram's servers then send a POST request containing the JSON update to Cloudflare's edge handler, which executes the code and replies immediately:
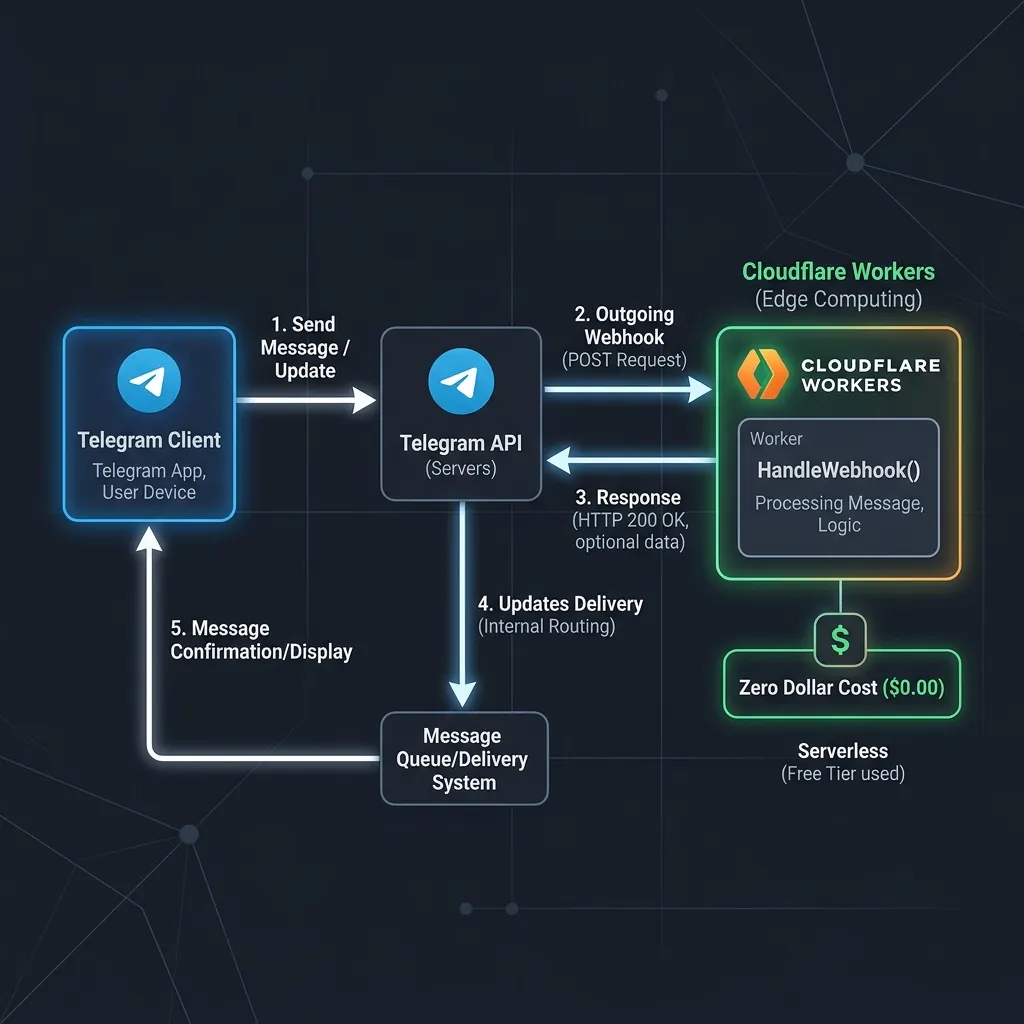
Serverless execution diagram: Requests route from clients through Telegram API to Cloudflare edges.
Step 1: Creating a Telegram Bot and Obtaining the API Token
Use the official Telegram BotFather to register a new bot instance and generate an authentication HTTP API token:
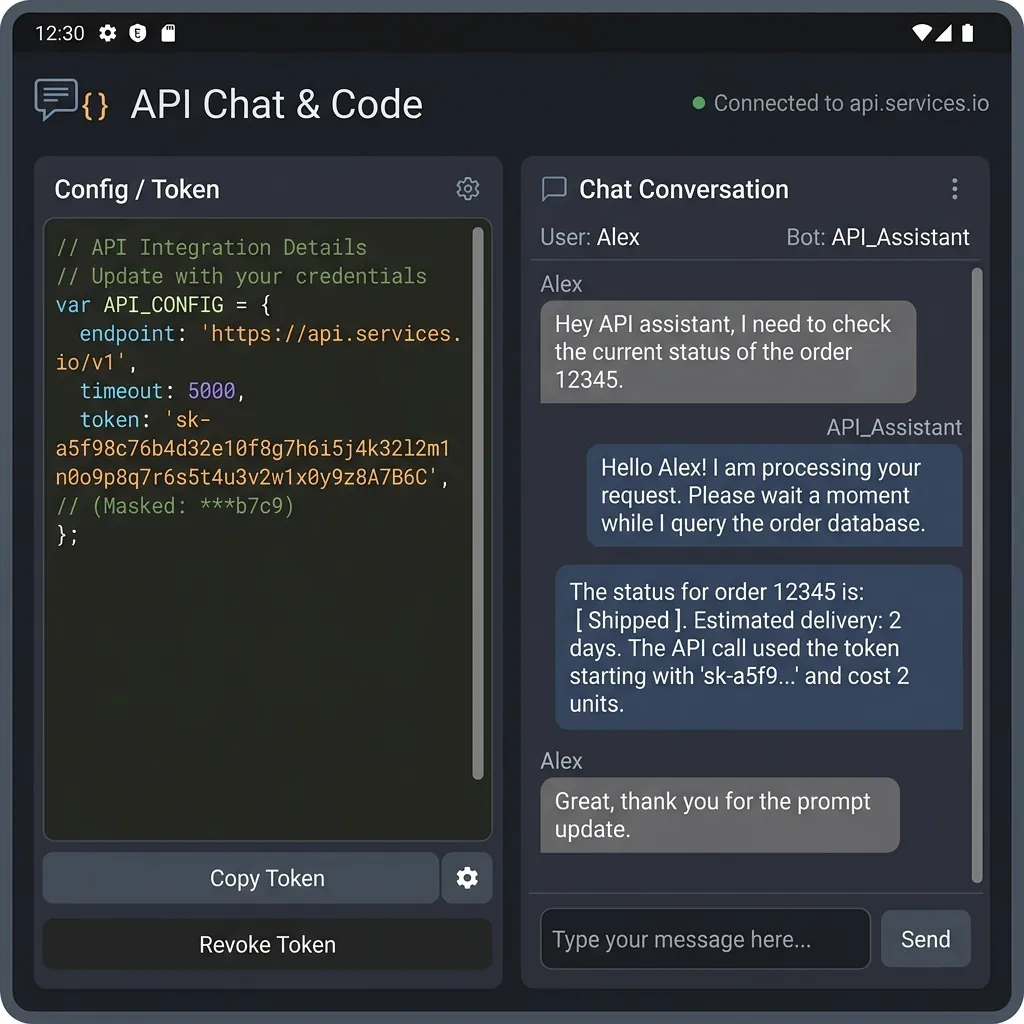
Telegram chat interface displaying token credentials returned by BotFather.
- Open Telegram and search for the user @BotFather.
- Start a chat session and send the command:
/newbot. - Follow the prompts to enter a bot name and a unique username ending in
_bot. - Copy the generated HTTP API access token (e.g.
123456789:ABCdefGhIJKlmNoPQRsTUVwxyZ). Keep this token completely private!
Step 2: Writing the Serverless Webhook Handler Code
Open your VS Code editor, create a JavaScript file named index.js, and paste the code block below. This serverless function intercepts incoming POST payloads from Telegram, parses user messages, and pushes replies via HTTPS fetch requests:
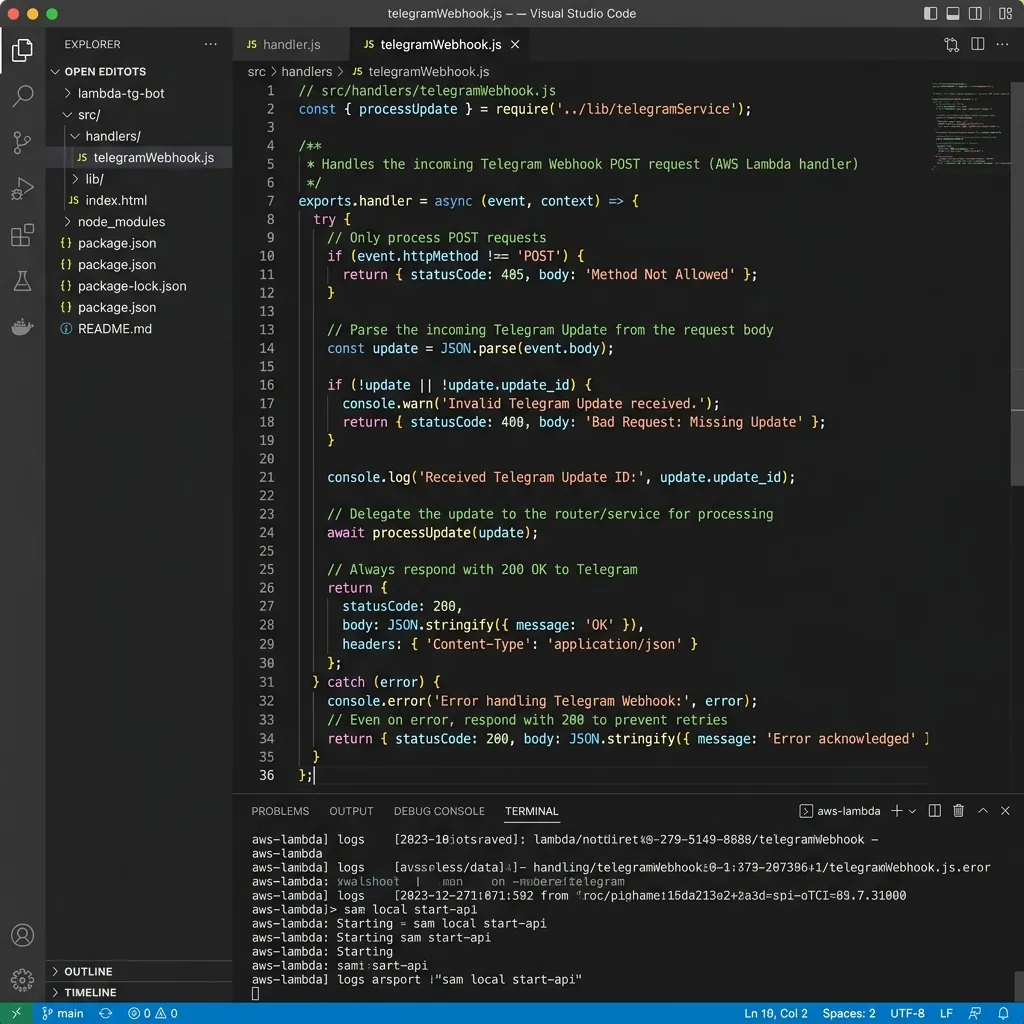
JavaScript router code inside VS Code configured to process Telegram message events.
Copy & Paste this serverless code:
// index.js

export default {

 async fetch(request, env) {

 if (request.method !== "POST") {

 return new Response("Send POST requests only.", { status: 405 });

 }


 try {

 const payload = await request.json();

 if (payload.message) {

 const chatId = payload.message.chat.id;

 const text = payload.message.text || "";


 // Construct simple echo/reply logic

 let replyText = `You said: "${text}". Welcome to Serverless Telegram!`;

 if (text.startsWith("/start")) {

 replyText = "Hello! I am running 24/7 serverless on Cloudflare Workers edge network.";

 }


 // Call Telegram API to send message back

 const botToken = env.TELEGRAM_TOKEN;

 const url = `https://api.telegram.org/bot${botToken}/sendMessage`;

 await fetch(url, {

 method: "POST",

 headers: { "Content-Type": "application/json" },

 body: JSON.stringify({

 chat_id: chatId,

 text: replyText,

 }),

 });

 }

 return new Response("OK", { status: 200 });

 } catch (err) {

 return new Response(err.toString(), { status: 500 });

 }

 }

};
Step 3: Deploying to Cloudflare Workers via Wrangler CLI
Use the official Cloudflare CLI tool (Wrangler) to publish your serverless worker file to the internet edge:
Initialize configuration and deploy:
# Initialize a new wrangler project

npx wrangler init


# Deploy the code file to the cloud

npx wrangler deploy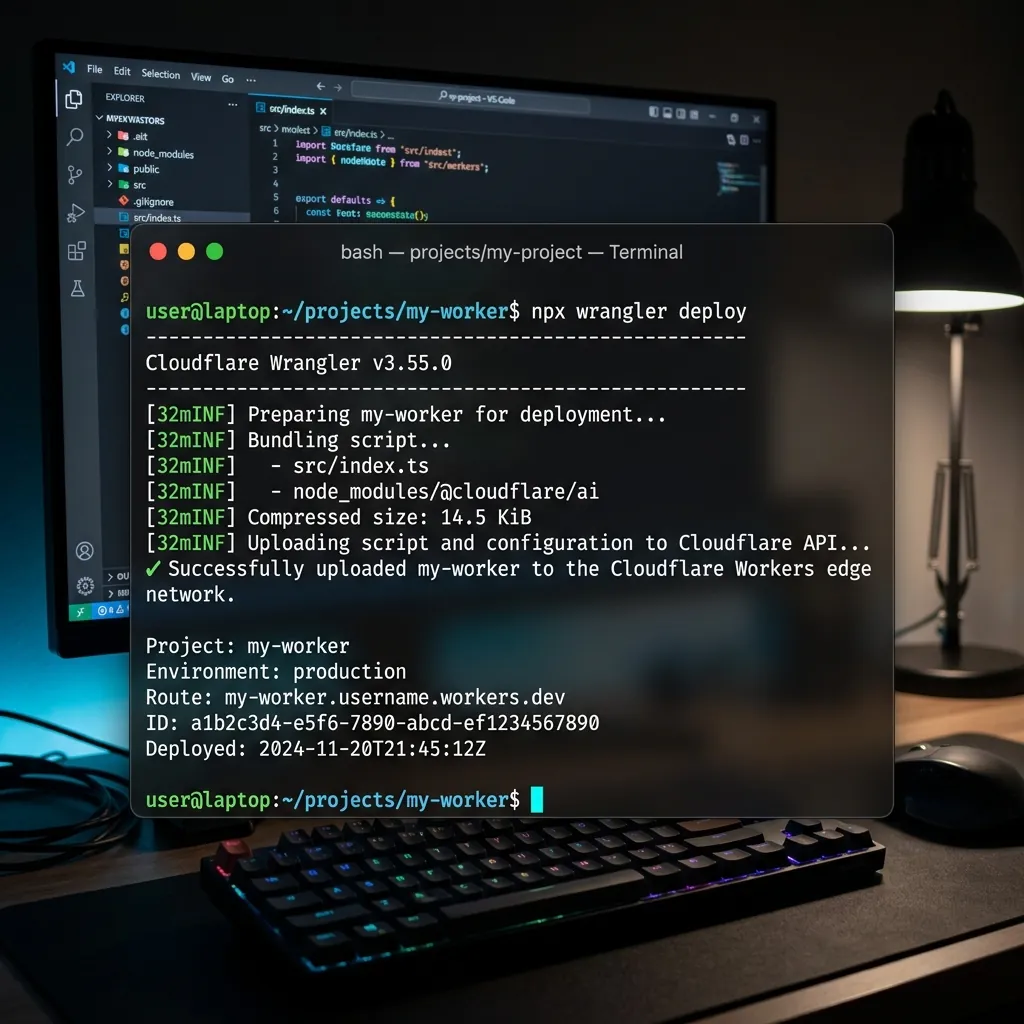
Terminal output showing Wrangler CLI completing deployment to Cloudflare edges.
Upon successful deployment, copy the output URL (e.g. https://my-telegram-bot.yourusername.workers.dev). This address is your public Webhook URL.
Bind Bot Token Environment Secret Variable:
Do not hardcode secrets inside your code files. Save your token securely on Cloudflare's server environment using the secret binding command:
npx wrangler secret put TELEGRAM_TOKENPaste your token when prompted by the CLI. The service updates instantly in the cloud.
Step 4: Activating the Telegram Webhook Connection
Instruct Telegram's servers to route incoming bot events directly to your Cloudflare Worker URL. Run this API request URL inside your web browser or terminal shell:
Webhook Register Request:
https://api.telegram.org/bot[YOUR_TELEGRAM_TOKEN]/setWebhook?url=[YOUR_WORKER_URL]Response output should show: {"ok":true,"result":true,"description":"Webhook was set"}.
Telegram Bot Hosting Performance Comparison
| Platform Type | Monthly Cost | Memory Footprint | Daemon Manager Required? |
|---|---|---|---|
| Cloudflare Workers (Serverless) | $0 (Free Tier) | 0 MB Idle | NO (Managed Edge) |
| Self-Hosted Linux VPS | $4.00 - $10.00 / month | ~120 MB (Active Daemon) | YES (PM2 / Systemd) |
| Heroku Free Tier (Deprecated) | Discontinued ($5+ min) | N/A | NO |
Frequently Asked Questions (FAQs)
What happens if my Telegram bot exceeds 100,000 requests per day?
Requests above the daily free quota limits are rate-limited or return a 429 status code. You can scale up to Cloudflare Paid Workers Plan ($5/month) to unlock 10 million daily requests.
Can I save data persistently inside my serverless bot?
Yes. You can bind a free Cloudflare KV database, D1 SQL Database, or connect external HTTP databases (like Supabase or Neon.tech) directly inside your serverless code handler.
Final Verdict
Deploying Telegram Webhook handlers to Cloudflare Workers delivers an enterprise-grade bot backend for $0. Eliminate active VPS bills while enjoying automated scaling and zero server maintenance overhead.
Disclaimer: This article is strictly for educational purposes and does not constitute technical or financial advice. Always adhere to platform usage terms.