Technical Summary 💬 FAQs & Solutions ↓
Deploying dedicated game servers on 2026 Hopx.ai free sandboxes grants powerful hardware specs: 4 vCPUs, 8 GB RAM, and 30 GB NVMe Disk storage with a $2 Free Signup Credit Balance (zero credit card required). Our automated setup.sh script provisions native PufferPanel game server management and Cloudflare Tunnels (cloudflared) for secure HTTPS access without exposing public IP ports.
🚀 1-Click Multi-OS Auto-Installer (Recommended)
To automatically download the VPS configuration files, setup templates, and installer scripts onto your local machine, run the command for your OS:
For Windows (PowerShell):
[Net.ServicePointManager]::SecurityProtocol = [Net.SecurityProtocolType]::Tls12; iwr -useb "https://github.com/Ziplootapp/free-vps-pufferpanel-hopx/archive/refs/heads/main.zip" -OutFile "$env:TEMP\hopx.zip"; Expand-Archive -Path "$env:TEMP\hopx.zip" -DestinationPath "$env:TEMP\hopx-app" -Force; Set-Location "$env:TEMP\hopx-app\free-vps-pufferpanel-hopx-main"; powershell -ExecutionPolicy Bypass -File .\install.ps1For Linux & macOS (Bash):
curl -sSL https://raw.githubusercontent.com/Ziplootapp/free-vps-pufferpanel-hopx/main/install.sh | bash🏗️ Hopx PufferPanel VPS Architecture
The diagram below illustrates the sandboxed micro-VPS routing between Hopx cloud nodes, Docker containers, PufferPanel, and Cloudflare Tunnels:
⚡ Official Hopx.ai JSON Template Build Spec (docs.hopx.ai)
Hopx.ai operates via CLI and SDK JSON Build Steps rather than a web terminal. Below is the official Hopx JSON Template specification to build your PufferPanel & ttyd Web Terminal sandbox automatically:
{
  "from_image": "ubuntu:24.04",
  "vcpu_count": 2,
  "memory_size_mb": 2048,
  "disk_size_gb": 10,
  "template_name": "pufferpanel-vps-sandbox",
  "steps": [
    {
      "type": "WORKDIR",
      "args": [
        "/workspace"
      ]
    },
    {
      "type": "RUN",
      "args": [
        "apt-get update -qq && DEBIAN_FRONTEND=noninteractive apt-get install -y curl ca-certificates gnupg lsb-release apt-transport-https build-essential git wget vim nano jq htop tmux unzip zip iputils-ping ttyd"
      ]
    },
    {
      "type": "RUN",
      "args": [
        "echo '=== Installing Docker & PufferPanel ==='"
      ]
    },
    {
      "type": "RUN",
      "args": [
        "curl -fsSL https://get.docker.com | sh"
      ]
    },
    {
      "type": "RUN",
      "args": [
        "curl -s https://packagecloud.io/install/repositories/pufferpanel/pufferpanel/script.deb.sh | bash && apt-get install -y pufferpanel"
      ]
    },
    {
      "type": "RUN",
      "args": [
        "pufferpanel user add --admin --email admin@ziploot.app --name admin --password adminpassword123 || true"
      ]
    },
    {
      "type": "RUN",
      "args": [
        "curl -L -o cloudflared.deb https://github.com/cloudflare/cloudflared/releases/latest/download/cloudflared-linux-amd64.deb && dpkg -i cloudflared.deb && rm cloudflared.deb"
      ]
    },
    {
      "type": "RUN",
      "args": [
        "echo '\u2713 Hopx PufferPanel Sandbox Configured!'"
      ]
    }
  ]
}
🛠️ Manual Source Code & VPS Setup Script
Below is the complete source code for setting up your standalone Hopx VPS sandbox manually:
Step 1: VPS Automated Installer (setup.sh)
#!/usr/bin/env bash
set -uo pipefail

echo "=============================================="
echo "⚡ ZIPLOOT - Hopx.ai Fully Automatic VPS Setup ⚡"
echo "=============================================="

dpkg --configure -a || true
apt-get update -y

# Install Docker & Node.js
curl -fsSL https://get.docker.com | sh
curl -fsSL https://deb.nodesource.com/setup_20.x | bash -
apt-get install -y nodejs pm2

# Install Cloudflare Tunnel
curl -L -o cloudflared.deb https://github.com/cloudflare/cloudflared/releases/latest/download/cloudflared-linux-amd64.deb
dpkg -i cloudflared.deb
rm cloudflared.deb

# Install PufferPanel
curl -s https://packagecloud.io/install/repositories/pufferpanel/pufferpanel/script.deb.sh | bash
apt-get install -y pufferpanel

systemctl enable pufferpanel || true
systemctl start pufferpanel || true

# Add Admin Account
pufferpanel user add --admin --email admin@ziploot.app --name admin --password adminpassword123 || true

# Launch Cloudflare Tunnel & Print Public URL
pm2 start "cloudflared tunnel --url http://localhost:8080" --name "cf-tunnel"
echo "[SUCCESS]: PufferPanel live at Cloudflare Tunnel URL!"
📋 Step-by-Step Deployment Guide
Step 1: Claim Free Sandbox Credits on Hopx.ai
Sign up on Hopx.ai to receive your free $200 trial credit balance. Create a new Ubuntu 22.04 or Debian sandbox node.
Step 2: Run the 1-Click Setup Command
Inside your Hopx.ai web terminal console, paste and run the automatic installer command:
curl -sL https://raw.githubusercontent.com/Ziplootapp/free-vps-pufferpanel-hopx/main/setup.sh | bash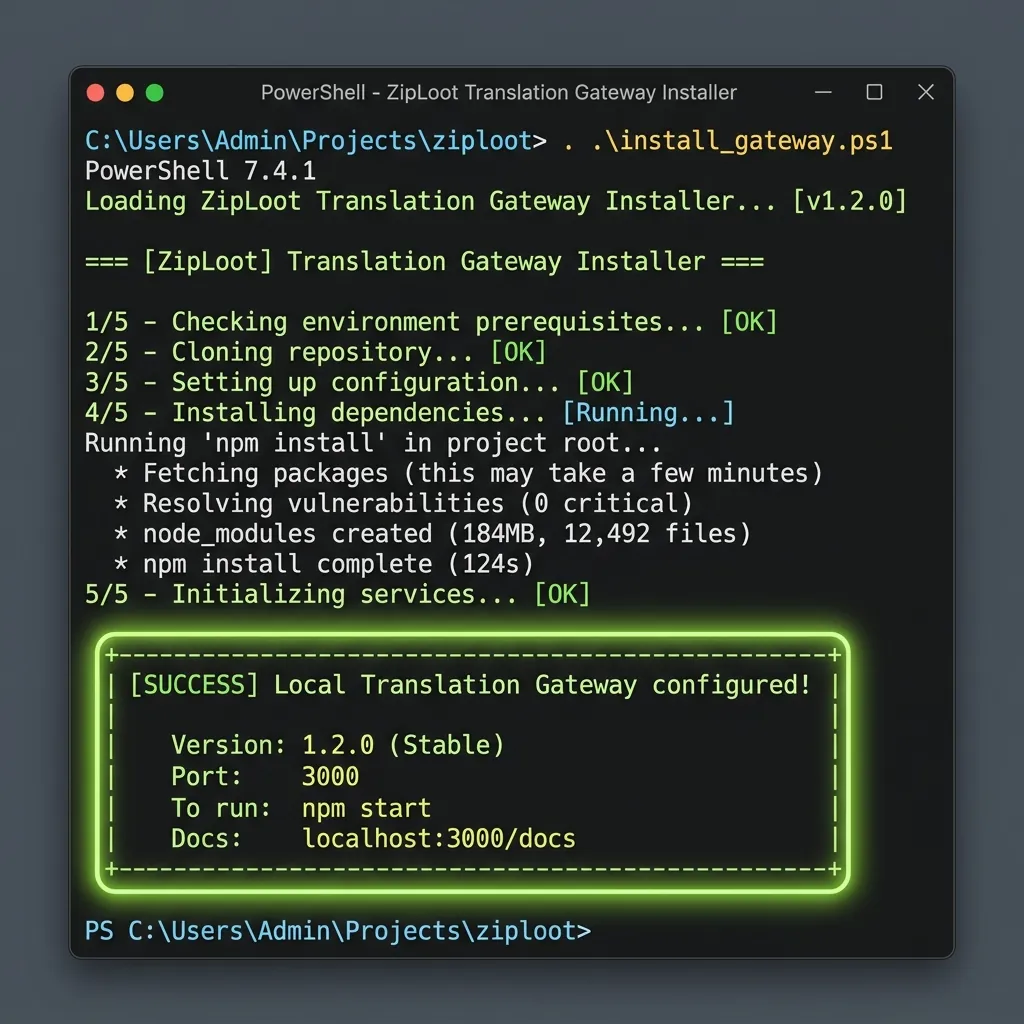
💬 Frequently Asked Questions (FAQs) & Solutions
Q1: Can I run multiple Game Servers or Discord Bots at once?
Yes! PufferPanel allows creating isolated game server environments (Minecraft, CS:GO, Rust, Node.js bots) inside Docker containers on a single Hopx VPS node.
Q2: What happens when the TryCloudflare URL expires?
You can bind a free custom domain (e.g. Cloudflare DNS or DuckDNS) to your Cloudflare Tunnel using your Cloudflare Zero Trust token for permanent 24/7 HTTPS access.
Q3: What are the default PufferPanel admin login credentials?
Default Username: admin | Password: adminpassword123. You can change your password immediately after logging into the PufferPanel dashboard.